Monday, August 29, 2011

Salmon & Brussels Sprouts

We had ample time to prepare for Hurricane Irene this past weekend, and while some of my fellow supermarket shoppers were stocking up on essentials like bread, many, I saw, were going for the non-perishables. Like twinkies. In the past I may have gone that route (see: Blackout of 2010) but this time, I decided I'd shop for "good" food. Most of our freezer items could be thrown on the bbq, but I thought since the city had so much time to prepare, we probably wouldn't lose power. We didn't. (2 days later, no rain, wind or natural disaster, and we have no power) But I digress. So I decided to make a super healthy and very tasty baked salmon with a side of roasted brussels sprouts. Delicious, low-cal and will keep you full. Enjoy!

Baked Salmon a la moi
serves 4
4 salmon filets
1/2c olive oil
1/4c soy sauce
1/4c honey
1t red pepper flakes
1T onion powder
1T parsley flakes
1T garlic powder
1T vegeta (this is a wonder spice, sold in every supermarket, used in many Eastern European households)

Place salmon in a large ziploc bag and pour all ingredients in. Zip shut. Marinate for at least 30 minutes, or overnight.
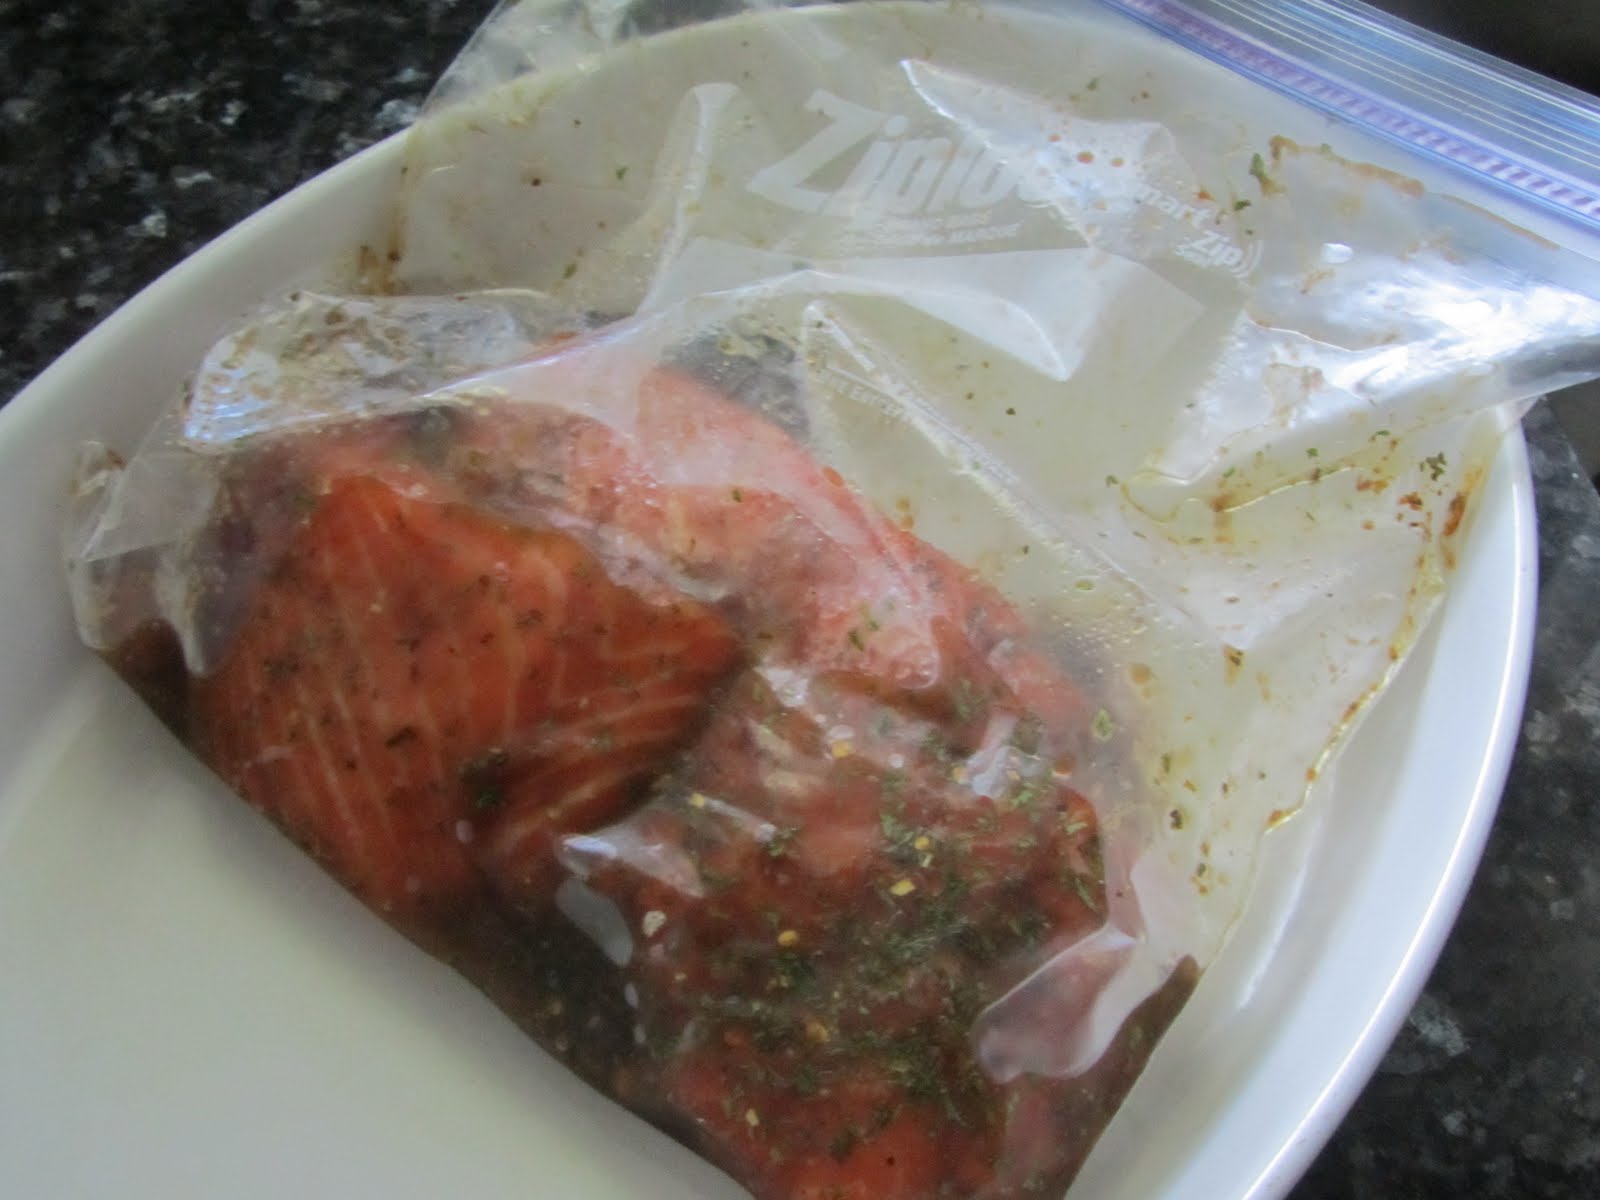
If marinating longer, turn bag every hour so that marinade moves around and coats the salmon well. Remove from ziploc bag and place in baking dish.*
Bake covered with aluminum foil for 20 minutes at 375 degrees.
Remove foil and bake an additional 30 minutes. Enjoy with a glass of pinot grigio and whatever vegetable you prefer.


*you can pour marinade over salmon like I did in this picture, and it creates a nice brown color on the salmon. 


Roasted Brussels Sprouts
serves 4
1 lb. brussels sprouts, frozen
~2T olive oil (enough to coat)
1t kosher salt
1t freshly ground black pepper

Make sure brussels sprouts are thawed out. Place in a baking dish or sheet pan. Coat with olive oil and s&p. Roast at 400 degrees for 30 minutes, taking care to mix half-way through so that all sprouts get nice and roasted. Once out of the oven, sprinkle with some extra kosher salt if you'd enjoy.


Wednesday, August 24, 2011

Faux fried chicken

Ever have days when you feel like this:
Yes- lazy. Have not exercised. Need to make dinner, and in the mood for something bad, but you feel guilty. That was me today. So I decided to make me some fried chicken. Well, faux fried chicken a.k.a. chicken that's been rolled in corn flakes to mimic the crunch of fried chicken, then baked. This chicken is so good that it really made me think I was eating a piece of fried chicken. It'll make you think that too. 

Faux fried chicken
1 whole chicken, in pieces (I bought a 5lb. chicken that had already been cut, because cutting up a chicken is laborious, not to mention yucky!
kosher salt
freshly ground pepper (I always use this)
flour- I used about 1- 1 1/2c
1 1/2t red pepper flakes
1t parsley flakes 
1-2tbl ground dried mustard
1/2c buttermilk
1 box corn flakes, 12 oz.

To start-off: Wash chicken and dry. Season with salt and pepper. Set aside. 
Preheat the oven to 425 degrees. 

Place corn flakes in a large ziploc bag. Using your hands, or elbows, or a rolling pin, crush. Pour crushed flakes onto a flat dish. Set aside.
In a wide bowl, pour buttermilk, mustard, red pepper flakes, and parsley flakes. Mix. 
In a large bowl, pour flour. Dredge chicken pieces in flour and shake off any excess. Take each individual piece of chicken and dip in the buttermilk bath. Make sure the chicken is thoroughly soaked. Then roll the chicken in the cornflakes. Cover entirely. Place the chicken in the roasting pan. Cover with aluminum foil and bake for 20 minutes at 425 degrees. Remove foil and lower the heat to 375 and cook for another 30 minutes. If you cut open a piece of chicken and it's white inside, it's done. This produced 6-8 servings. It was finger lickin' good. 


Tuesday, August 16, 2011

Persian cooking

When trying to learn a new language, it's important to get immersed in the culture as much as you can. What better way to do so than my favorite way- cooking. My Farsi is coming along slowly but surely, and it definitely helps that I have a great Persian teacher. So we stopped studying for the day and I got a lesson on a basic staple of Persian cooking- rice. Rice, or Polow as it's known is something that every Iranian woman knows how to cook. Today I made "Zereshk Polow" or Rice with Barberries. I've never even heard of barberries (زرشکbefore, but they are similar to a cranberry- tart and a bit sour, and maybe a quarter smaller in size. Along with Zereshk Polow, we also made "Tahdig Sibzamini" which is Potato Tahdig. "Tahdig Sibzamini" literally means "Tah" (bottom) "dig" (pot) "sibzamini" (apple from the ground). So it's the apple from the ground in the bottom of the pot. ;) Tahdig is the crust of the rice, potato or pita that you make on the bottom of the pot/rice maker. It was actually simple to make and the taste...let's just say there was nothing leftover. 

Zereshk Polow
4 cups basmati rice
2 tbl butter (salted), plus 1 tbl for zereshk
~ 2 tbl. fresh saffron, ground*
2t salt
canola oil
zereshk (1-2 cups)
2 tbl sugar

Place rice in a bowl and cover with water. Add the salt. Allow to soak for 30 mins to 1 hour. Meanwhile, fill a pot with water (about 1/2 the pot) and bring to a boil. After the hour is up, discard of the water that the rice is in and then add rice to the pot of boiling water. Add some salt again. Cover and let the rice cook for about 10 minutes. 
After 10 minutes, remove the cover and using a large wooden spoon move the rice from the bottom up to the top. Do this several times. Do not stir (don't manhandle the rice!) Place a colander in the sink, and drain the rice. Here you have "Polow"- rice that's made to be enjoyed with meat or a stew. 

*We ground up some saffron (~2tbl) and added an ice cube to the plate it was on. Many Iranians use some warm water, but I have it on good authority that the ice cube is the more modern way to go. :) Either way, it gives the saffron a beautiful intense red color and that melted water/saffron mixture is what you will add to the potatoes (or even to some of the rice) to give it a nice light red color. 
saffron grinder


{If you are going on to make tahdig (and you so should) continue on with the potatoes. If not, continue to read with the zereshk.}

For the tahdig we used 2 red potatoes, washed and peeled. We sliced them in 1/4 inch rounds. In the same pot that you just drained the rice add some canola oil and then some saffron water. The color should be a nice red. Add the potatoes in a single layer, making sure to crowd them. 
Pour rice over and put the pot back on the stove. Add the 2tbl butter and about 4tbl or a good handful of warm water. Cover and adjust heat to medium high. Once you see a lot of steam coming through (or my friend's explanation "the pot is very, very hot" lower the heat. It's important to do this because regardless of whether or not you added potatoes, you do not want to burn anything on the bottom. We steamed for about 5 minutes before lowering the heat- almost to a simmer. We took the cover and wrapped it in a kitchen towel, then back on the pot it went. The rice should continue to simmer steam for about 30 minutes. 
For the zereshk: Allow the zereshk to soak for about 2 minutes in cold water. We want to make sure it is clean and all sediment is removed. Drain. In a small sauce pan, add the remaining 1tbl of butter. Adjust heat to medium high. Add the sugar. The butter/sugar combo smells divine! Add your zereshk and saute for 2 minutes. Turn off the heat and cover. Let it rest. 


When your rice is done, scoop out about a cup or so and add to your zereshk in the saucepan. Add ~1tbl. saffron water. Mix. 
Arrange your rice, or polow, on a nice platter. Use the rice that has the zereshk in it and arrange on top of the bulk rice. You can make a nice design, like we did. Scoop out potatoes and arrange on a separate plate. Then, sit down and enjoy a nice Persian meal. Nooshe jaan! 

tahdig

Monday, August 15, 2011

Upstate y'all!

The weekend before last was spent in Upstate with the fam. I don't often go unless there is skiing involved, so it was a rare treat for me to spend some time enjoying nature and learning about the family's new side venture (still in the works, but exciting!) Of course we made a bbq while there, and we got to enjoy some fresh peaches that were picked at a local farm and were sweet and delicious. On the grill they went with some sugar sprinkled on top (I know- adding sweet to something sweet but the grill just emphasizes the sweetness and it brings back memories of years of Upstate trips, grilling)...some local corn on the cob went down on the grill next, and special thanks to J for suggesting a neat trick for enjoying summer corn (read further.) And no trip Upstate would be complete without a tour of the honey factory. If you know my family, you know my dad is an amateur honey cultivator- a "honeybee hobbyist" as we like to call him. We'll be launching a new business soon- check out our front page: www.theromanbee.com. It's fun and has been a major learning experience for everyone who has come across his path! But now, on to the food!

Grilled ears of corn
1 ear, washed, still in its silk, partially opened
several pats of butter
aluminum foil to wrap
small amount of water

Very simple: place butter on top of corn, place corn in aluminum foil, sprinkle some water (to steam) and wrap in foil. Place on grill for ~20 minutes. So good!

We also grilled veggies and peaches. A simple, healthy and delicious meal.


Some beautiful nature shots a la J:

Roman Bees! 


Friday, August 5, 2011

Stuffed Romaine Hearts

I wanted to make a simple salad but all the chopping and dicing and leftover ricotta cheese (from the weekend) led to a monster-sized stuffed romaine heart leaf. It was delicious and crunchy and messy! Don't forget extra napkins. 

Stuffed Romaine Hearts
bag of romaine hearts (I used about 10 leaves) washed and arranged beautifully on a platter
1/2 cucumber, peeled, seeded and diced
1/2 red pepper, diced
1/2 pint of grape tomatoes, halved
small amount of ricotta cheese, whole milk

Arrange your romaine hearts on a platter. In the center of one heart, add the cucumber, then tomato. Using a small spoon, scoop out ricotta cheese and add to center. Top ricotta cheese with red pepper. 

dressing:
If you're a purist you can simply splash this with some good olive oil and enjoy. Add some fresh lemon juice and you're golden. Any dressing will do. I'd usually do some kind of blue cheese dressing, but I wanted to use the remaining creamy Italian dressing that I had. It was definitely the right choice! Just drizzle on top of the finished product.


Tuesday, August 2, 2011

Artichoke Gratinata

This weekend I went to a restaurant that had the most fabulous roasted artichokes in their salad. I wanted to do something similar, and since I love all that is breadcrumb'd (I made that word up) I decided to pan roast and oven roast the artichoke. It is extremely easy to make and takes no time at all, so it's the perfect dish to make if you have guests.

Ingredients:
artichoke hearts (you can use jarred, frozen, canned) I used 2 (12oz) jars
1/2c chicken broth
1 garlic clove, minced
1/2c bread crumbs
1/3c freshly grated Parmesan cheese
2T butter
chopped fresh parsley
dash of kosher salt
couple grinds fresh pepper
dash red pepper flakes
olive oil to coat pan

Preheat oven to 450 degrees.
In a medium sized skillet, add the olive oil and heat over medium-high heat. Add garlic and cook for about a minute. Add the artichoke hearts, parsley, red pepper flakes, s&p and cook until the artichoke hearts are starting to brown at the edges. Add the chicken broth and lower the heat to simmer, about 3 minutes. Transfer the mixture to a baking dish.

Melt the butter in the same skillet. In a small bowl mix the melted butter with the breadcrumbs and spread mixture on top of the artichokes. Top with Parmesan cheese and bake about 10 minutes. The end result is golden brown and it smells delectable.


Monday, August 1, 2011

Some comfort food for the soul

How to turn a bad day into an awesome day? Cook for people who love and appreciate a simple meal. And who love to praise you, A LOT. On tonight's menu, spaghetti & meatballs. An artichoke gratinata (another name for artichoke with breadcrumbs on top) and a salad that turned into an appetizer.

Spaghetti & Meatballs
1 pound ground beef*
1 pound ground pork*
1/4c dry bread crumbs, Italian seasoning
1c fresh white bread crumbs (I used my food processor and some 2-day old ciabatta bread)
1/2c freshly grate Parmesan cheese
2t kosher salt
dash of nutmeg (if you don't have, you can leave this out)
couple grinds of fresh pepper
handful of chopped parsley
1 large egg, beaten
olive or vegetable oil

*can substitute the meat with veal, turkey or some veggie substitute

For the sauce:
1c chopped yellow onion (1 onion)
2t minced garlic
1/2c good red wine
1 (28oz.) can crushed tomatoes
1T chopped fresh parsley
dash of kosher salt
couple grinds of fresh pepper
1T olive oil

Don't forget the spaghetti!

In a large bowl, combine ground meat, both bread crumbs, Parmesan cheese, parsley, s&p, nutmeg egg and 1/2c warm water. Combine using a fork. Using your hands, form 2-inch meatballs. This made about 40 meatballs.

Pour the oil into a large skillet. Heat the oil. In batches (do not crowd) place the meatballs and brown them on all sides ~8-10 minutes. Remove the meatballs to a plate or tray that is covered with a paper towel. Discard the oil and put the pan back on the burner. Now on to the sauce...

Add the oil you set aside for the sauce and turn on heat to medium high. Add the onions and cook about 5 minutes or more. Add the garlic and cook for another minute. Add the wine and turn up the heat to high. You want most of the liquid to evaporate. Stir in the tomatoes, parsley, s&p.

Add the meatballs back to the sauce and cover them. Allow them to simmer on the lowest heat for about 20 minutes (if you over cooked your meatballs, just let them simmer for less time.)

Serve in a nice bowl with spaghetti on bottom. Pour meatballs and sauce on top. Sprinkle with some leftover parsley and lean over and take a whiff. Good, right?